Yesterday was the first of a series of summer social/workshops. As the club does not have any meetings over summer, the socials are the time where members can get advice from more senior members.
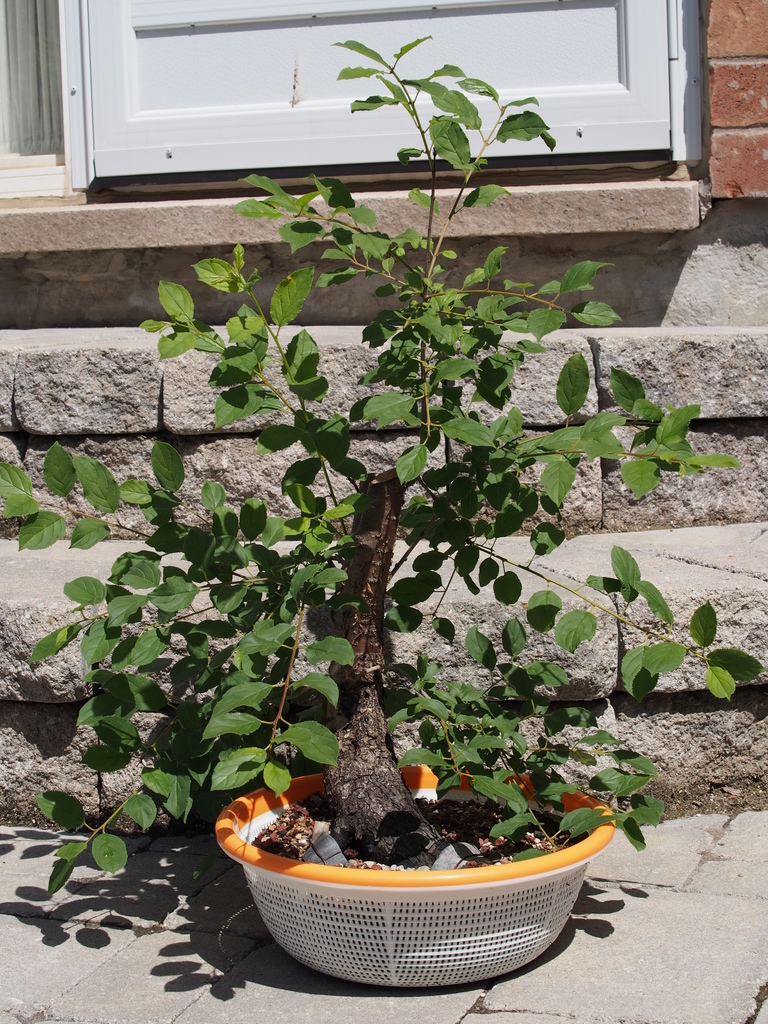
I took advantage of the opportunity and brought my Bloodgood to be critiqued.
John Biel indicated several flaws of my Bloodgood.
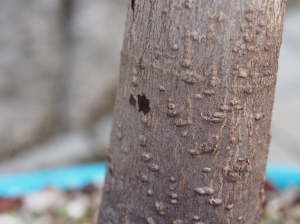
- The internodes on the trunk are too far apart. Since the branches only emerge from the internodes, the branches are also too far apart.
- The first branch starts too far up the trunk. Since the first branch marks roughly 1/3 of the height of the tree, this forces the tree to be taller than what is proportional to the size of the trunk.
- Missing some back branches, which are essential to add depth to the bonsai.
I have one good thing going for it, that is, the graft was done nicely (not to my credit).
There are two suggestions made which will help the tree to be a bonsai. Both of which involves forgoing all branches.
- Trunk chop the tree to be slightly higher than the graft point. Hoping that it will spawn again and provide more favourable branching. The graft point itself is actually quite high, so any branches which spawns below the graft point would not be Bloodgood. Also, I’m not the kind of person who likes to leave things to chance.
- Thread graft branches down below, to rebuild main, secondary, back branches, and the new apex. I like this idea more, because I thought it’ll be good to have some experience in thread grafting, and I like the deterministic nature of putting branches where I want them. Grafting also allows me to graft Bloodgood material lower than the existing graft line.
John suggested that I should be performing the grafting spring of next year. I’ve been reading a few posts online, and they seem to suggest doing it in summer time is good since the tree is full growth, and would recover faster from the ordeal. So, I went ahead with the thread graft despite John’s recommendation.
Since I will be grafting on my branches, I’m no longer restricted by the branches when selecting my front. My new criteria for a front will solely be based on the roots. After some digging around, this is going to be my tree’s new front.
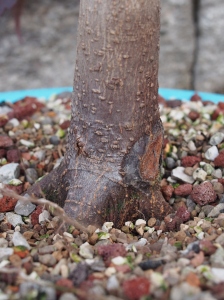
There’s an existing scar that healed up nicely. I think the scar was caused by a rabbit or some other rodent. Since it’s facing the side, I’m not too concerned with it.
Next is to mark the main the branch, back branch, secondary branch, and the apex. Since the roots are stronger on the left than on the right, I would want to lean the tree to the right to balance it. Thus, my new apex will be coming out from the left to counter-balance the right leaning trunk. Since my branches will be at the outer curve of my trunk’s bend, my secondary branch will be on the right. I wanted to squeeze in a main branch along the trunk, and the a back branch as well. After deciding where everything will go, I marked the drill points with a marker.
I used a power drill to drill the holes. I also selected a drill bit that’s slightly on the larger side, such that the buds can pass through without getting damaged. Having a bigger hole will cause the healing process to be longer, but I rather wait, than to have the buds rubbed off. Always drill from where you want the branch to emerge, that way, you’ll know exactly where the branch will come. When I drill, I also drill slightly at an angle. It’s angled such that the exit hole is higher than the entry hole. Since branches facing upwards grows more vigorously, this allows the resulting scion to grow more vigorously, and for the graft to take in a shorter period of time.
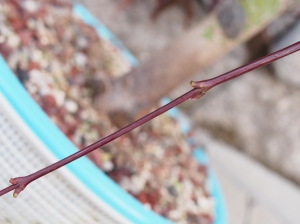
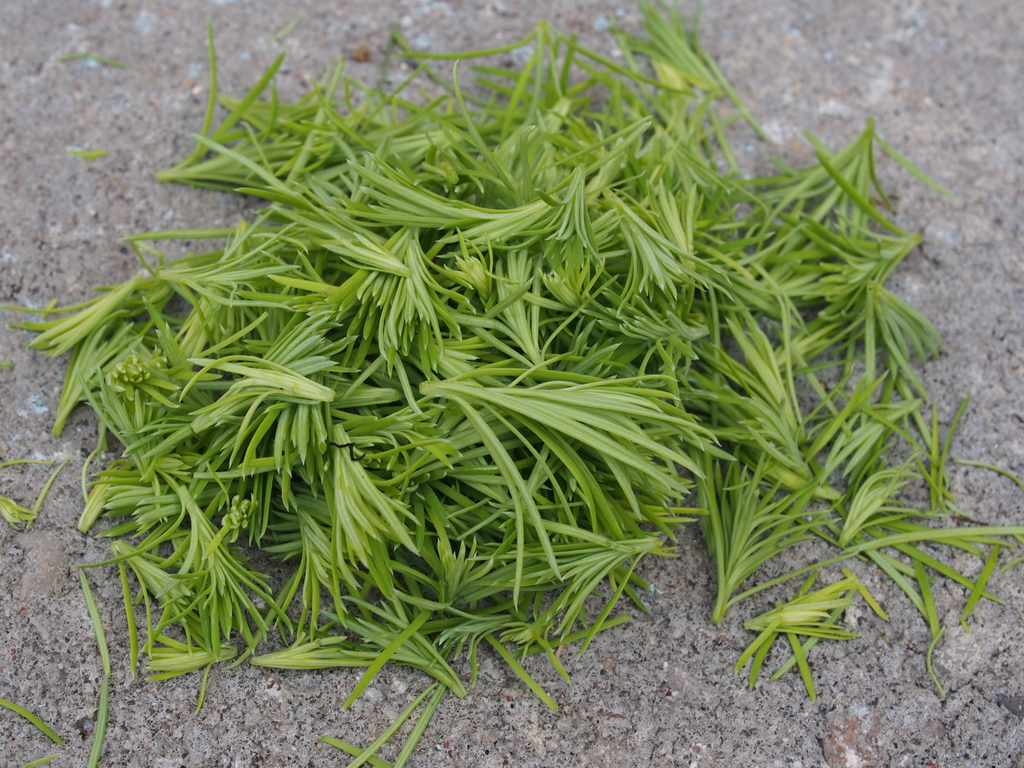
Next is to prepare the scion. I cut off all the leaves, leaving the leave stalk, since this is where new leaves/branches will emerge. But you don’t want to leave too much behind, or else you’ll have a difficult time getting it through the hole, and risk damaging the buds hiding at the base of the stalk. The scion is just a very long branch that’s still attached to the tree.

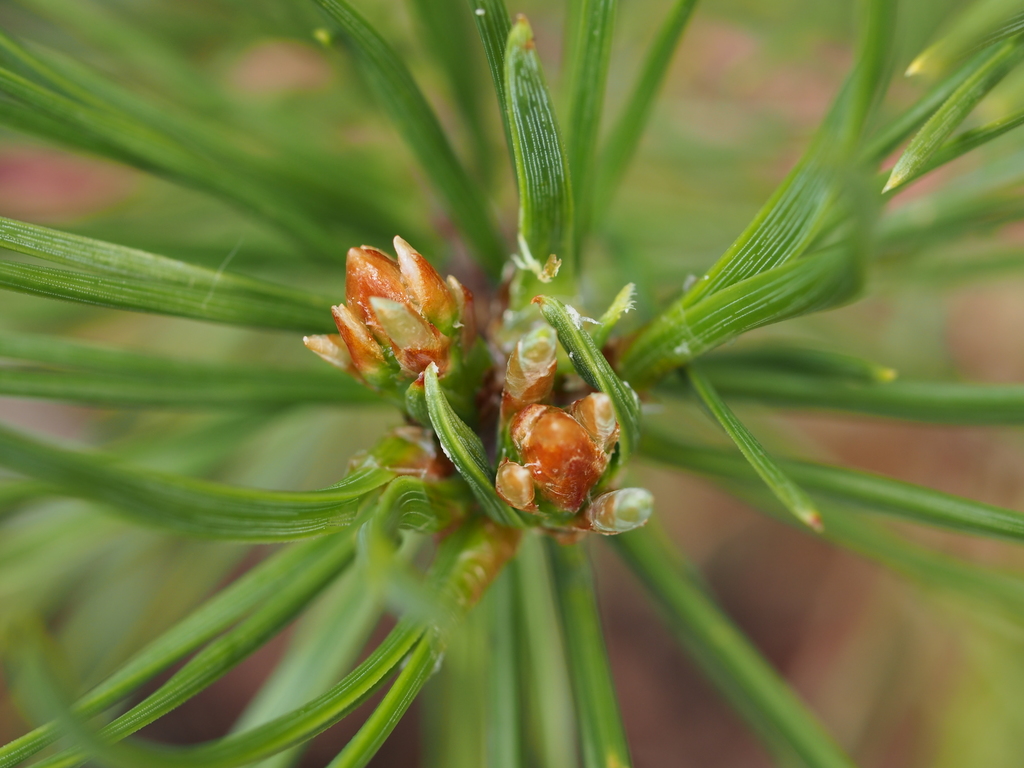
Carefully insert the scion into the hole, taking care not to damage the buds. This photo shows the entry point, the exit point should have the buds slightly outside the trunk. This allows for short internodes of the resulting branch. After the scion is in place, I’ll need to secure the scion such that it can grow and graft to the trunk. I do this by inserting wood into the whole to jam it in place. I simply took material from the existing apex and push it into the whole.

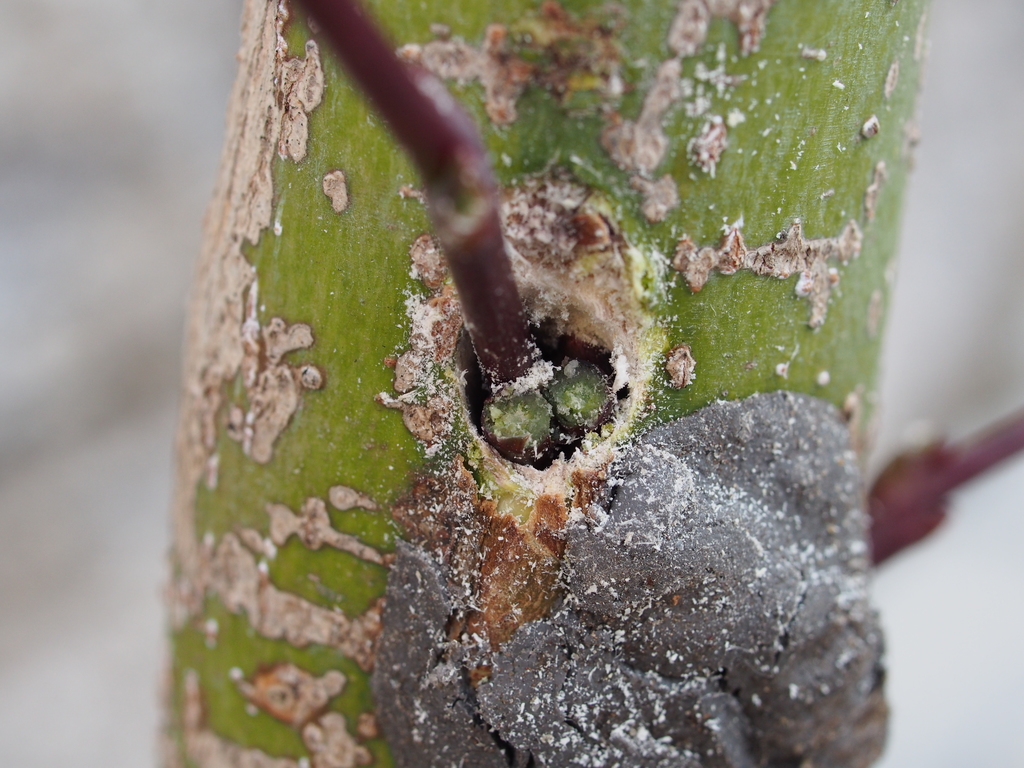
After the scion is secured, I can proceed to seal the wound with cut paste. This will help with the healing process.
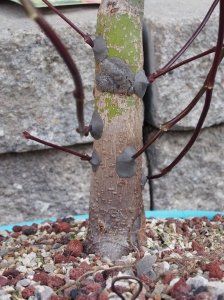
Here’s a view of the finished thread graft. It looks busier than what it’s supposed to be, since you’re seeing the entry and exit points. After the scion are established, I will be cutting off the entry points, leaving only the grafted portion.
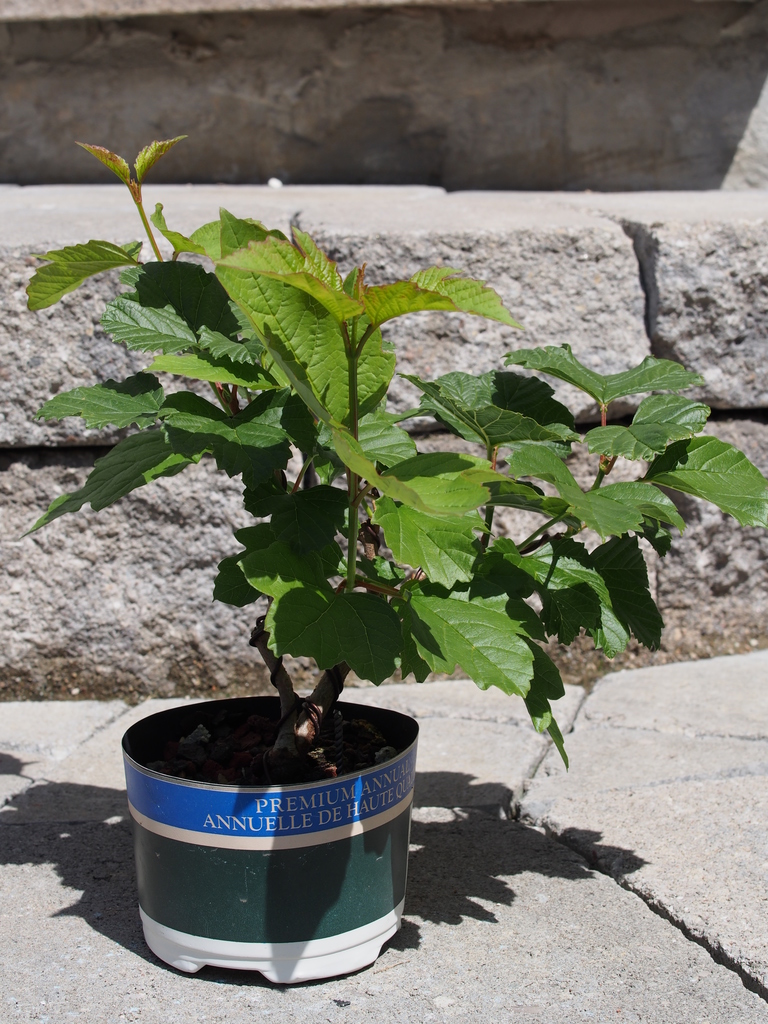
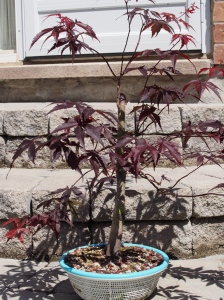
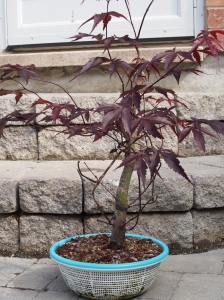
Here’s a overview of the whole tree after performing the thread graft.
The plan for spring of next year is to keep reducing the top, and force the tree’s energy down to the scions. Hopefully it’ll quickly fatten up the scions, causing the graft to take.